


Aprilaire 500A Installation Manual: A Comprehensive Plan
This manual details the installation of Aprilaire 500A humidifiers, alongside models 350, 360, 400A, 500M, 600A, 600M, and 700A/700M, offering safety, operating instructions, and warranty details.
The Aprilaire 500A is a whole-house bypass humidifier designed to add moisture to your home’s air during the heating season. This unit effectively combats dry air, alleviating discomfort caused by dry skin, static electricity, and damage to wood furnishings.
This installation manual provides comprehensive instructions for safely and correctly installing your Aprilaire 500A humidifier. It covers everything from preparation and component identification to electrical connections and initial system testing. Proper installation is crucial for optimal performance and longevity of the unit.
This guide is applicable to a range of Aprilaire models, including 350, 360, 400A, 500M, 600A, 600M, and 700A/700M. Always refer to the specific diagrams and instructions relevant to your particular model for the most accurate guidance. Familiarize yourself with the safety precautions before beginning any installation work.
Safety Precautions & Warnings
Before commencing installation, disconnect power to the furnace or air handler at the breaker box. Failure to do so presents a serious risk of electrical shock. Always verify the power is off with a non-contact voltage tester.
Water and electricity are a dangerous combination. Exercise extreme caution when connecting the water supply to the humidifier. Ensure all connections are tight and leak-free to prevent water damage and potential electrical hazards.
Wear appropriate safety glasses and gloves during installation to protect your eyes and hands. Be mindful of sharp edges on ductwork and humidifier components. This manual includes vital safety and operating instructions; read them thoroughly before proceeding. Improper installation can void the warranty and create unsafe operating conditions.
Tools and Materials Required for Installation
Essential tools include: a screwdriver set (Phillips and flathead), adjustable wrench, pipe cutter (for water supply line), drill with appropriate bits, wire strippers/crimpers, non-contact voltage tester, and a level. A hacksaw may be needed for ductwork modifications.
Required materials: Aprilaire 500A humidifier kit (including base, water panel, solenoid valve), appropriate length of copper or PEX tubing for water supply, fittings for water connection, electrical wiring connectors, duct tape or mastic sealant, and screws/fasteners.
Consider having: a bucket and towels for potential water spills, Teflon tape for threaded connections, and a flashlight for improved visibility in tight spaces. Refer to the installation instructions for specific material requirements based on your setup.
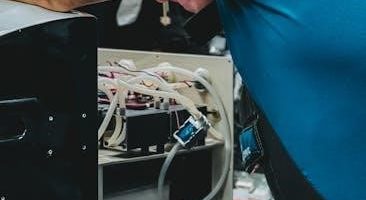
Understanding the Aprilaire 500A Components
The Aprilaire 500A consists of several key parts. The humidifier base & cabinet houses the internal mechanisms and provides a mounting point; The water panel & distribution system evaporates water to increase humidity; it requires regular replacement.

A crucial element is the solenoid valve & water supply connection, controlling water flow to the humidifier. This valve is electrically operated and requires a reliable water source. Understanding these components is vital for correct installation and future maintenance.
Familiarize yourself with each part before beginning. Proper component identification ensures a smooth installation process. Refer to the included diagrams in the manual for visual assistance and detailed part labeling.
Humidifier Base & Cabinet
The Aprilaire 500A’s base & cabinet forms the structural foundation of the unit. It’s typically constructed of durable plastic, designed to withstand the humid environment within your ductwork. Proper mounting is critical for stable operation and to prevent vibrations.
Before installation, inspect the cabinet for any damage incurred during shipping. Ensure all mounting tabs and screw holes are intact. The cabinet’s design allows for flexible installation, accommodating various duct configurations.
Securely fasten the base to the chosen location using appropriate screws – often not included – suitable for the ductwork material. A level installation is recommended for optimal water distribution and performance.
Water Panel & Distribution System
The Aprilaire 500A’s water panel is the core component responsible for adding moisture to your home’s air. It’s typically an evaporative media, designed to maximize water surface area for efficient evaporation. Regular replacement is crucial for maintaining optimal performance and preventing mineral buildup.
The distribution system, consisting of troughs and a water distribution tube, evenly wets the water panel. Ensure the distribution tube is free of obstructions and properly aligned to deliver water across the entire panel surface.
Inspect the water panel for damage before installation. Proper seating of the panel within the cabinet is essential for correct operation. Consistent water flow is vital for effective humidification.
Solenoid Valve & Water Supply Connection
The solenoid valve controls the water flow to the humidifier, opening and closing based on the thermostat’s demand for humidity. It’s a critical safety component, preventing water damage when the system isn’t actively humidifying.
A direct water supply connection, typically a ¼-inch copper or PEX tubing, is required. Ensure the water supply line is adequately sized to handle the humidifier’s flow rate. A shut-off valve should be installed upstream of the solenoid for easy maintenance and emergency shut-off.
Proper sealing of all connections is paramount to prevent leaks. Use Teflon tape on threaded fittings. Verify the solenoid valve is correctly oriented and securely mounted before connecting the water supply.
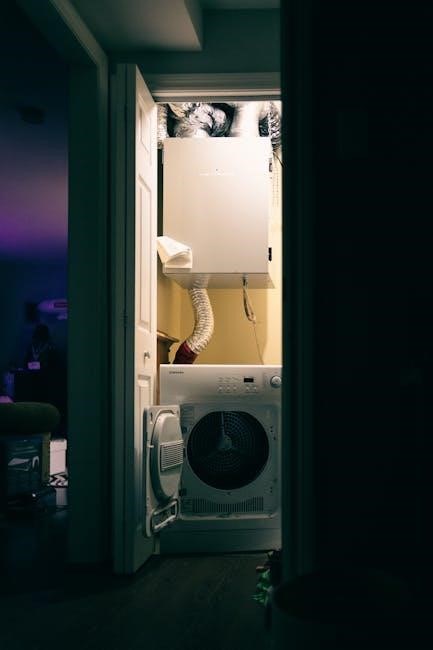
Preparing the Installation Site
Careful site preparation is crucial for a successful Aprilaire 500A installation. Begin by choosing the correct location – typically near a cold air return duct and a water supply line. Avoid areas prone to freezing or excessive heat.
Checking for adequate space and accessibility is essential. The unit requires sufficient clearance for maintenance and filter changes. Ensure easy access to the water supply connection and electrical wiring. Consider future access for servicing when selecting the location.

Verify the chosen ductwork is suitable for accommodating the humidifier. Inspect the duct for any damage or obstructions. Proper preparation minimizes installation time and ensures optimal performance of the humidification system.
Choosing the Correct Location
Selecting the ideal location for your Aprilaire 500A humidifier is paramount for efficient operation and longevity. The preferred spot is generally near a cold air return duct, facilitating optimal moisture distribution throughout your home’s HVAC system.
Proximity to a readily accessible water supply line is also vital, minimizing plumbing complexities. Avoid areas susceptible to freezing temperatures, as this can damage the unit. Similarly, steer clear of locations exposed to direct sunlight or excessive heat sources.
Consider the surrounding environment; ensure adequate ventilation and space for future maintenance and filter replacements. A well-chosen location streamlines installation and maximizes the humidifier’s effectiveness.
Checking for Adequate Space & Accessibility
Before commencing installation, meticulously assess the proposed location for sufficient space. The Aprilaire 500A requires ample room not only for the unit itself but also for comfortable access during routine maintenance and filter changes. Ensure at least 12 inches of clearance around the humidifier is available.
Accessibility is crucial; technicians or homeowners should be able to easily reach all components – the water panel, solenoid valve, and control panel – without obstruction. Verify that ductwork connections can be made without undue strain or modification.
Confirm the area is free from obstructions like pipes, wiring, or other HVAC equipment that might hinder installation or future servicing. Proper space and accessibility simplify the process and ensure long-term usability.
Installing the Humidifier Base
Begin by securely mounting the Aprilaire 500A humidifier base to the chosen ductwork. Utilize appropriate screws or fasteners, ensuring they are compatible with the duct material to prevent corrosion or weakening. Confirm the base is level to guarantee proper water distribution and prevent operational issues.
Pay close attention to the airflow direction indicated in the installation instructions. The base must be positioned to align with the natural flow of air within the duct system for optimal humidification. Seal any gaps or openings around the base using duct sealant to prevent air leakage and maximize efficiency.
Double-check the stability of the mounted base before proceeding to the next installation step. A secure foundation is vital for the long-term performance and reliability of the humidifier.
Connecting the Water Supply
Locate a suitable cold water supply line near the humidifier base, typically a ½-inch pipe. Ensure the water supply is accessible for future maintenance and filter replacements. Before connecting, shut off the water supply to prevent flooding.
Utilize a saddle valve or a tee fitting to tap into the water line. A tee fitting provides a more permanent and reliable connection than a saddle valve. Apply pipe thread sealant to all threaded connections to prevent leaks.
Connect the water supply tubing to the solenoid valve, ensuring a secure and watertight fit. Carefully inspect all connections for any signs of leakage after turning the water supply back on. Address any leaks immediately to avoid water damage.
Electrical Connections & Wiring
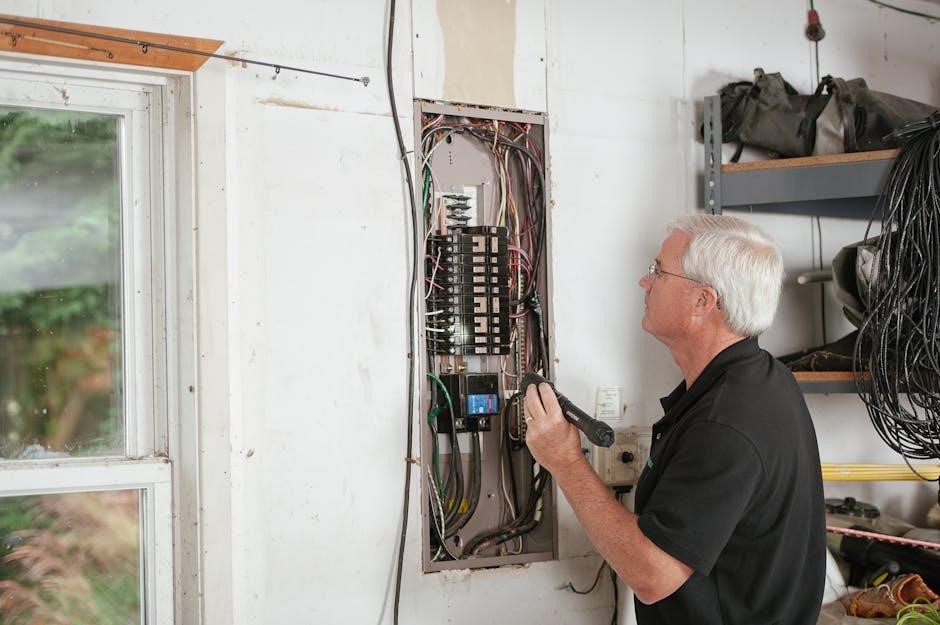
Before commencing any electrical work, disconnect power to the furnace or HVAC system at the breaker box. This is a crucial safety precaution to prevent electrical shock. Identify the appropriate wiring terminals on the humidifier and the furnace control board.
Typically, a 24-volt connection is required to power the solenoid valve and control panel. Refer to the wiring diagram in the installation instructions for specific wiring configurations. Use appropriately sized wire connectors to ensure secure and reliable connections.
Carefully connect the wires according to the diagram, ensuring proper polarity. Double-check all connections before restoring power. Once power is restored, verify the humidifier’s operation and confirm the solenoid valve is functioning correctly.
Installing the Water Panel & Distribution System
Begin by carefully removing the water panel from its packaging, inspecting it for any damage incurred during shipping. Position the water panel within the humidifier base, ensuring it sits securely in the designated slots or mounting points. Proper alignment is critical for even water distribution.
Next, install the water distribution system, which typically consists of a series of tubes or a manifold designed to evenly wet the water panel. Connect the distribution system to the water inlet, ensuring a tight and leak-proof seal.
Verify that all connections are secure and that the water panel is properly supported. A correctly installed water panel and distribution system are essential for optimal humidification performance and preventing water leakage.
Connecting the Solenoid Valve
The solenoid valve controls the water flow to the humidifier. Begin by identifying the correct location for the valve, typically near the water supply line and the humidifier base. Ensure the valve is oriented correctly, following the directional arrows indicating water flow.
Connect the water supply line to the inlet side of the solenoid valve, using appropriate fittings and Teflon tape to prevent leaks. Then, connect the outlet side of the valve to the water inlet of the humidifier’s distribution system.
Double-check all connections for tightness and proper alignment. Improperly connected solenoid valves can lead to water damage or humidifier malfunction. Verify electrical connections are secure before proceeding.
Ductwork Connections & Sealing
Proper ductwork connections are crucial for efficient humidification and preventing air leaks. Carefully align the humidifier’s outlet duct with the existing ductwork, ensuring a secure fit. Use appropriately sized duct connectors and clamps to establish a firm connection.
Seal all ductwork joints thoroughly with duct sealant (mastic) or foil tape. Avoid using duct tape, as it degrades over time and loses its sealing properties. A well-sealed system maximizes humidity distribution and minimizes energy loss.
Inspect the connections for any gaps or openings. Ensure the ductwork is adequately supported to prevent strain on the humidifier and duct connections. A secure and sealed ductwork system is vital for optimal performance.
Initial System Startup & Testing
After completing the installation, it’s essential to perform a thorough system startup and testing procedure. Begin by turning on the water supply to the humidifier and checking for any leaks at the solenoid valve and water panel connections. Verify the solenoid valve operates correctly when the humidifier is called for by the control panel.
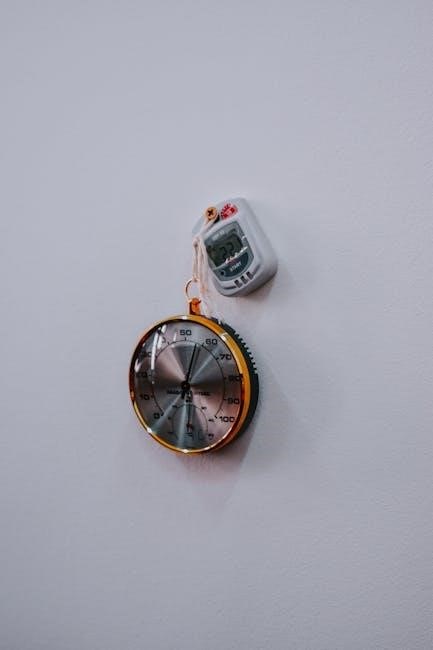
Activate the furnace fan and observe the water panel for proper water distribution. Ensure water is flowing evenly across the panel’s surface. Monitor the humidity levels in your home using a hygrometer to confirm the humidifier is increasing the moisture content.
Check for any unusual noises or vibrations during operation. Address any issues promptly to prevent potential damage. A successful startup confirms proper installation and functionality.
Aprilaire 500A Control Panel Setup

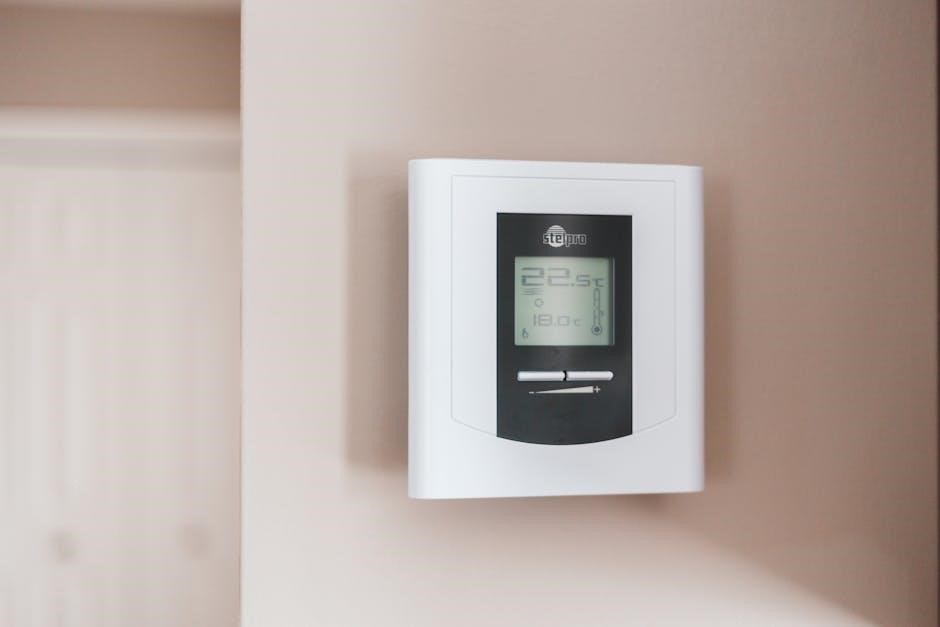
The Aprilaire 500A utilizes a control panel to manage humidity levels within your home. Begin by powering on the control panel, typically integrated with your HVAC system. Familiarize yourself with the panel’s interface, including buttons for adjusting humidity settings and fan operation.
Set your desired humidity level, generally between 30-40% to maintain comfort and prevent condensation. The control panel allows for manual adjustments or automatic operation based on indoor temperature. Ensure the panel is correctly communicating with the humidifier’s solenoid valve.
Test the control panel’s functionality by increasing and decreasing the humidity setting and observing the humidifier’s response. Refer to the panel’s documentation for specific programming instructions and troubleshooting tips;
Troubleshooting Common Installation Issues
During Aprilaire 500A installation, several issues may arise. A common problem is a leaking water supply connection; ensure all fittings are tightened securely and the water supply line is undamaged; If the humidifier isn’t producing humidity, verify the solenoid valve is receiving power and opening correctly.
Check the control panel settings to confirm it’s calling for humidity. Ductwork leaks can reduce efficiency; meticulously seal all connections with duct tape or mastic. Electrical wiring errors can prevent operation; double-check all connections against the wiring diagram.
If issues persist, consult the full installation instructions or contact a qualified HVAC technician for assistance. Proper troubleshooting ensures optimal performance and prevents further complications.
Maintenance & Filter Replacement
Regular maintenance is crucial for optimal Aprilaire 500A performance. The water panel requires periodic replacement, typically every 1-2 years, depending on water quality and usage. Inspect the panel for mineral buildup and replace it when scaling hinders water evaporation.
The humidifier base should be cleaned annually to prevent mold and bacteria growth. Disconnect power before cleaning and use a mild disinfectant solution. Check the solenoid valve for debris and ensure it operates smoothly.
Filter replacement frequency depends on air quality, but generally, replace the air filter every 3-6 months. Consistent maintenance extends the humidifier’s lifespan and maintains healthy indoor air quality.
Warranty Information & Registration
Your Aprilaire 500A humidifier is protected by a manufacturer’s warranty, covering defects in materials and workmanship. The specific warranty duration varies depending on the component and model; refer to the included warranty documentation for details.
To validate your warranty, online registration is strongly recommended. This allows Aprilaire to efficiently process any potential claims and provides access to important product updates and support resources.
Keep your proof of purchase (receipt or invoice) in a safe place, as it’s required for warranty service. Failure to register the product may limit warranty benefits. Visit the Aprilaire website to complete the registration process.
Aprilaire 500A Specifications & Technical Details
The Aprilaire 500A is designed for whole-house humidification, offering substantial moisture output to maintain optimal indoor humidity levels. Key specifications include compatibility with standard residential water supplies and HVAC systems.
Detailed technical data encompasses water consumption rates, electrical requirements (typically 120V), and physical dimensions for installation planning. The unit’s capacity is measured in gallons per day (GPD), varying based on operating conditions.
Refer to the full installation instructions and product documentation for precise measurements, wiring diagrams, and performance charts. Understanding these details ensures correct installation and efficient operation of your Aprilaire 500A humidifier.
Leave a Reply
You must be logged in to post a comment.